


How To Use Character LCD Display With Arduino
How To Use Character LCD Display With Arduino
Character LCD displays are one of the most popular display modules used in Arduino projects. They are simple, erschwinglich, easy to control, and perfect for showing text, Zahlen, sensor values, Menüs, and system messages. Whether you are building a temperature monitor, digital clock, smart meter, weighing scale, access control system, or DIY electronic project, a character LCD display can help make your project more interactive and user-friendly.
In diesem Ratgeber, we will explain what a character LCD display is, wie es funktioniert, what parts you need, how to connect it to an Arduino board, and how to write a basic program to display text.
What Is a Character LCD Display?
character LCD display is a liquid crystal display designed to show letters, Zahlen, and symbols in fixed character positions. Unlike graphic LCDs or TFT displays, character LCDs do not display complex images or colorful graphics. Stattdessen, they are mainly used for clear and simple text display.
The most common types are 16x2 and 20x4 character LCD displays. A 16x2 LCD can show 16 Zeichen pro Zeile und hat 2 Linien. A 20x4 LCD can show 20 Zeichen pro Zeile und hat 4 Linien. These displays are widely used in industrial equipment, Unterhaltungselektronik, Instrumente, und eingebettete Systeme.
Most character LCD modules are based on the HD44780 controller or a compatible controller. This makes them easy to use with Arduino because many libraries already support them.
Why Use a Character LCD With Arduino?
Arduino boards are great for reading sensors, controlling devices, and processing simple logic. However, without a display, users may not know what the system is doing. A character LCD solves this problem by providing real-time information.
Zum Beispiel, you can use a character LCD to show temperature and humidity from a sensor, display voltage and current values, create a simple menu system, show countdown timers, display error messages, or monitor machine status.
Character LCD displays are also durable and power-efficient. They are suitable for both hobby projects and commercial products. Compared with more advanced displays, they are easier to program and require fewer system resources.
Understanding LCD Pins
Standard 16x2 character LCD without I2C usually has 16 pins. The important pins include VSS, VDD, V0, RS, RW, E, data pins D4 to D7, and backlight pins A and K.
VSS is connected to ground, while VDD is connected to 5V. The V0 pin controls the contrast of the LCD and is usually connected to the middle pin of a potentiometer. RS is the register select pin, E is the enable pin, and RW controls read or write mode. In most Arduino projects, RW is connected to ground because we only write data to the display.
The data pins transfer information from Arduino to the LCD. In 4-bit mode, only D4, D5, D6, and D7 are used. This saves Arduino pins while still allowing the LCD to work properly.
Wiring a Character LCD to Arduino
For a standard 16x2 LCD without I2C, connect the LCD power pins first. Connect VSS to GND and VDD to 5V. Connect the V0 pin to the middle pin of a 10K potentiometer, with the other two potentiometer pins connected to 5V and GND. This allows you to adjust the contrast until the characters are visible.
Nächste, connect RS to Arduino digital pin 12, E to digital pin 11, D4 to digital pin 5, D5 to digital pin 4, D6 to digital pin 3, and D7 to digital pin 2. Connect RW to GND. Finally, connect the LCD backlight pins. The A pin usually connects to 5V through a resistor, and the K pin connects to GND.
After wiring, check all connections carefully before powering the Arduino. Incorrect wiring may cause the display to show blank blocks, random characters, or no backlight.
Arduino Code Example
Arduino provides a built-in LiquidCrystal library, which makes it easy to control character LCD displays. The basic code includes the library, defines the LCD pins, initializes the LCD size, and prints text on the screen.
You can change the text to display sensor readings, Statusmeldungen, or project information.
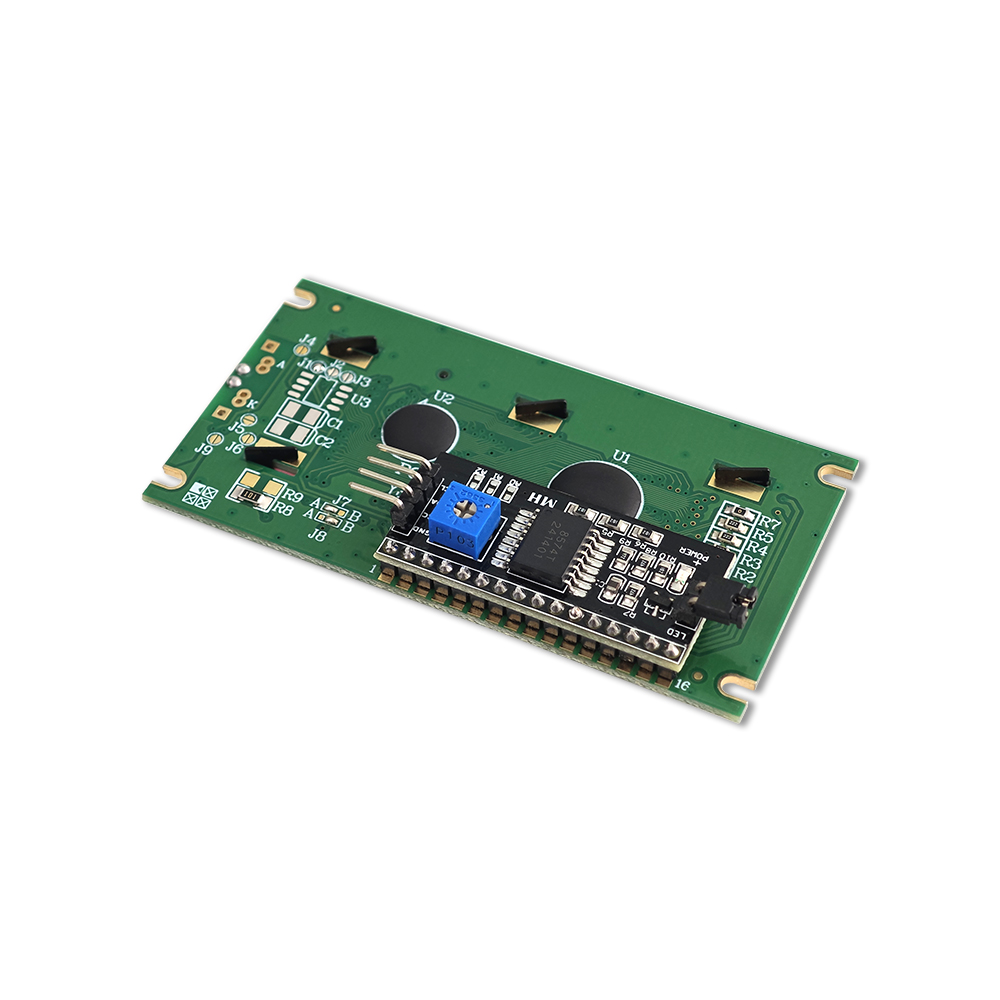
Using an I2C Character LCD
If your character LCD has an I2C adapter, the connection is much easier. Connect VCC to 5V, GND to GND, SDA to the Arduino SDA pin, and SCL to the Arduino SCL pin. On Arduino Uno, SDA is usually A4 and SCL is A5.
To use an I2C LCD, you need to install a compatible LiquidCrystal_I2C library in the Arduino IDE.
Häufige Probleme und Lösungen
If the LCD backlight is on but no characters appear, the contrast may not be adjusted correctly. Turn the potentiometer slowly until the text becomes visible. If you see only black blocks, the LCD may be powered but not initialized properly. Check the wiring and code.
If random characters appear, make sure the data pins are connected in the correct order. Also check that the LCD pin settings in the code match your actual wiring.
If you are using an I2C LCD and nothing appears, check the I2C address, library installation, and SDA/SCL connections. Different Arduino boards may use different I2C pins.
Applications of Character LCD Displays
Character LCD displays are used in many Arduino projects because they are reliable and easy to read. Common applications include temperature and humidity monitors, Digitaluhren, voltage meters, battery testers, Smart-Home-Controller, menu systems, vending machines, fuel dispensers, electric meters, und industrielle Schalttafeln.
For commercial products, custom character LCD displays can be designed with specific sizes, Symbole, Symbole, backlight colors, viewing angles, and connection types. This makes them suitable for professional electronic devices that require stable and clear information display.
Abschluss
Using a character LCD display with Arduino is a great way to improve your electronic projects. It allows your system to show useful information directly to the user without needing a computer or serial monitor. Whether you choose a standard parallel LCD or an I2C LCD module, the setup is simple and beginner-friendly.
By learning how to wire the display, adjust the contrast, install the library, and write basic code, you can quickly add text display functions to many Arduino projects. Character LCD displays remain a practical choice for both hobby makers and product developers because they are low-cost, zuverlässig, and easy to integrate.